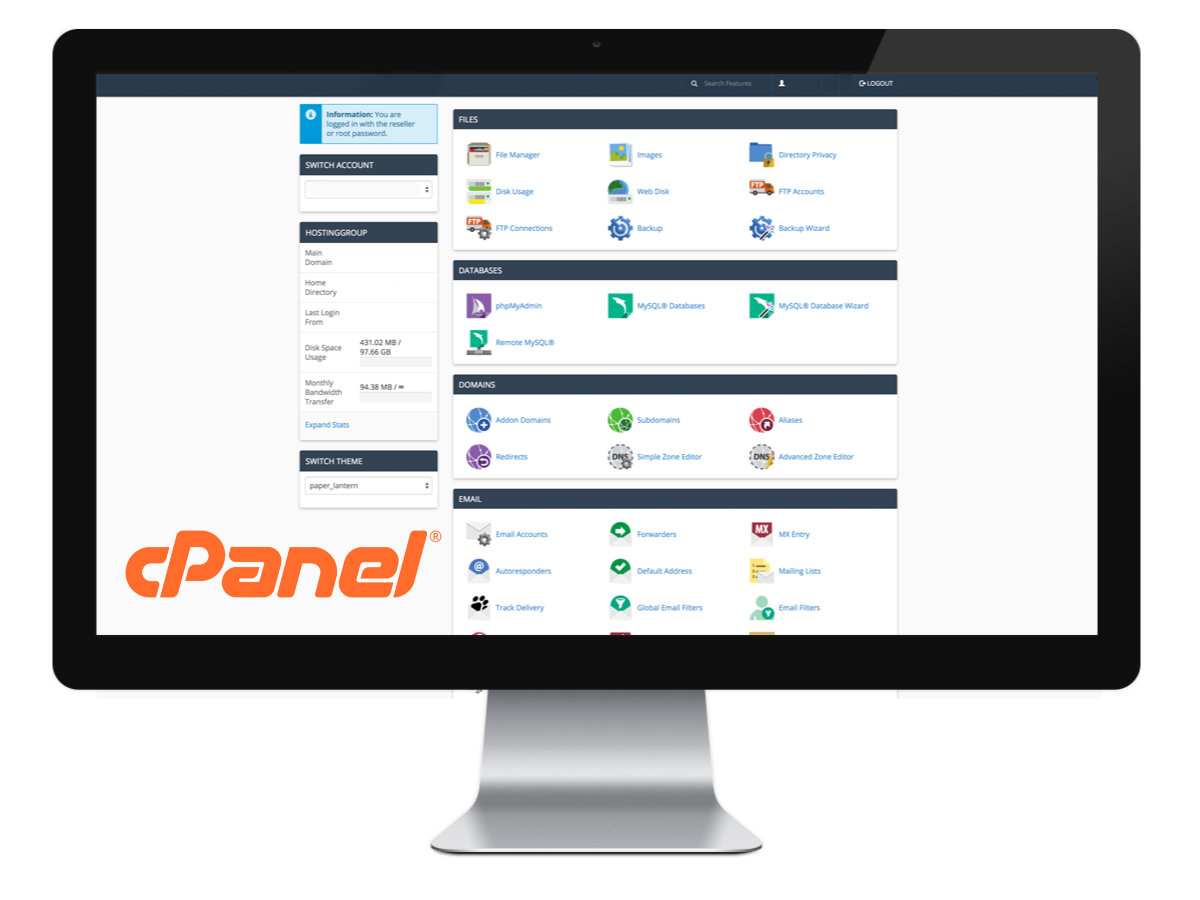
WHM/cPanel is one of the most popular web hosting control panels in the world for Linux-based systems.
It allows you to easily manage many aspects of a web hosting server including:
- Websites
- FTP
- DNS
WHM/cPanel comprises two separate application packages.
One is WHM, which is a web-based GUI used to perform server administration and the other is cPanel, which again is a web-based GUI, but intended for use by end-users for administering their web hosting services (e.g. domain name management, email accounts, etc.).
WHM/cPanel can currently only be supported on the following operating systems (OS):
Prior to version 11.30 of WHM and cPanel FreeBSD was a supported platform, but this is now no longer the case.
The truth is, technically you can install WHM/cPanel on just about any RHEL based Linux distribution, but if you are expecting support from cPanel, then you must install on one of their supported platforms mentioned earlier.
It is therefore strongly advised that you stick with the cPanel supported platforms.
More information about WHM/ cPanel can be found at their website: http://cpanel.net/
Preparing The VPS
In this section, we’ll look at getting the basics sorted before we move on to the actual software installation.
Hardware Resources
Before you go a step further you need to make sure that your VPS has enough processor (CPU), disk space, and memory (RAM) resources to run WHM/cPanel.
Currently, the minimum resource requirements are:
- Processor of 1.1GHz
- 1GB of memory
- 20GB of disk space
However, please check the cPanel requirements page for the latest information.
To find your current processor resources, run the following:
cat /proc/cpuinfo
To view your memory (RAM) resources in megabytes run the following:
free -m
Finally to view your disk space situation run this command:
df -h
If your VPS doesn’t meet the minimum requirements you need to speak to your VPS provider and ask about upgrading your resources.
We recommend at least doubling the WHM/cPanel provided minimum requirements above.
Network Configuration
It is essential that your VPS has a static, public IP address and an active internet connection in order to proceed with a WHM/cPanel installation.
A WHM/cPanel server can have multiple IP addresses associated with it, but only one can be the server’s main IP address.
The main IP address is used for hosting cPanel accounts that share a public IP address & thus do not have a dedicated IP.
It is also used for many other important services running on the server, but most importantly, it is used as the IP address that cPanel issue the license to.
First your need to check what your IP address is before going any further run the following command from your VPS command line:
ifconfig -a
or
ip a
The above commands will show which IP addresses are currently associated with your VPS and which network interfaces they are attached to.
Make a note of the IP address and network interface you wish to use for your WHM/cPanel main IP, and then run the following command:
cat /etc/sysconfig/network-scripts/ifcfg-[NETWORK INTERFACE]
For example, if you are using an OpenVZ VPS, this might be /etc/sysconfig/network-scripts/ifcfg-venet0:0.
The above command will print the content of the specified file to the command terminal.
If the IPADDR option is set to the IP address noted earlier, you are already using a static IP address and should continue to the next section of this tutorial.
If there is no IPADDR setting or it is set to another IP address yo will need to change it. You first need to open the file for editing:
vi /etc/sysconfig/network-scripts/ifcfg-[NETWORK INTERFACE]
Then you need to ensure that the following options are set (you can leave any other options as they are):
DHCP=yes
IPADDR=[YOUR PUBLIC IP ADDRESS]
NETMASK=[YOUR NETMASK]
To save the file run the following commands within the editor:
ESC key
:wq
ENTER key
You will now need to restart the network service on the VPS.
Please be aware that this may disconnect any SSH connections that you currently have open to the VPS.
To restart the networking service run the following command:
service network restart
Your VPS will now be running on the correct IP address.
Remove Unwanted Software
The next job is to remove all unwanted software from the VPS.
WHM/cPanel runs its own software repository and in many cases compiles its own versions on many applications like Apache, etc.
The easiest way to ensure that you are not running conflicting software is to use the Yellowdog Update Manager and its application group feature. To do so run the following:
yum grouplist
The above command will list all the software groups currently installed on your VPS and also, all the software groups that can be installed.
You should remove any groups that are related to the following:
- Web servers
- FTP servers
- Emails servers
- X Window system or desktop GUI
You can remove a group or multiple groups using the following command:
yum groupremove "group name 1" "group name 2" ...
Disable SELinux
You can usually check if SELinux is enabled by running the following command:
sestatus
If SELinux is enabled you can disable it by editing the /etc/selinux/config file and setting the following:
SELINUX=disabled
After performing the above, you should reboot your VPS in order for the changes to take effect.
Turn Your Firewall Off
In order to ensure that your VPS can communicate with the cPanel installation servers, it is necessary to disable your VPS software firewall.
This can be done by disabling and stopping the iptables service.
On older init systems
chkconfig iptables off
service iptables stop
On the newer systemd:
systemctl disable iptables
systemctl stop iptables
Update Your Operating System
Finally, you need to update any out of date software on your VPS:
yum update
Your VPS is now ready to begin the WHM/cPanel installation.
Starting The WHM / cPanel Installation
Before you begin, you will need to get a cPanel license, or you can install & free trial that lasts 14 days.
You can search around the internet for a good license supplier.
When buying your license you will need to provide your VPS main IP address which will, in turn, be associated with the license as mentioned earlier.
Once the license is in place, you need to connect to your VPS using your preferred SSH client.
The WHM / cPanel installation can take some time and we recommend that you use the screen application in order to ensure that you don’t get cut off before the installation is complete.
Once you are connected to the VPS you need to run the following commands:
cd /home && curl -o latest -L https://securedownloads.cpanel.net/latest && sh latest
The WHM / cPanel installation process will now run automatically and inform you when it has completed.
Please note that the first thing the installation script does is check whether your VPS main IP address is licensed.
If the script stops and complains that it is not licensed, you should contact your cPanel license supplier.
In addition, you can check whether your IP address has a cPanel license at http://verify.cpanel.net/
Once the installation process has completed, you will be presented with instructions detailing how to connect and login to WHM and cPanel.
You first need to navigate to the WHM URL (https://[VPS IP]:2087) and log in as the Linux root user account.
Once logged in you will be presented with the WHM installation wizard where you will be able to set the preliminary options of your installation, such as DNS nameservers, choice of FTP server, etc.
After completing the installation wizard it is recommended that you read the WHM user guide.
Last Jobs
Now that WHM / cPanel is installed you can enable your firewall / iptables rules again. To do so:
chkconfig iptables on
service iptables start
That’s it… you now have a WHM / cPanel installed and running on your VPS!
Enjoy…


